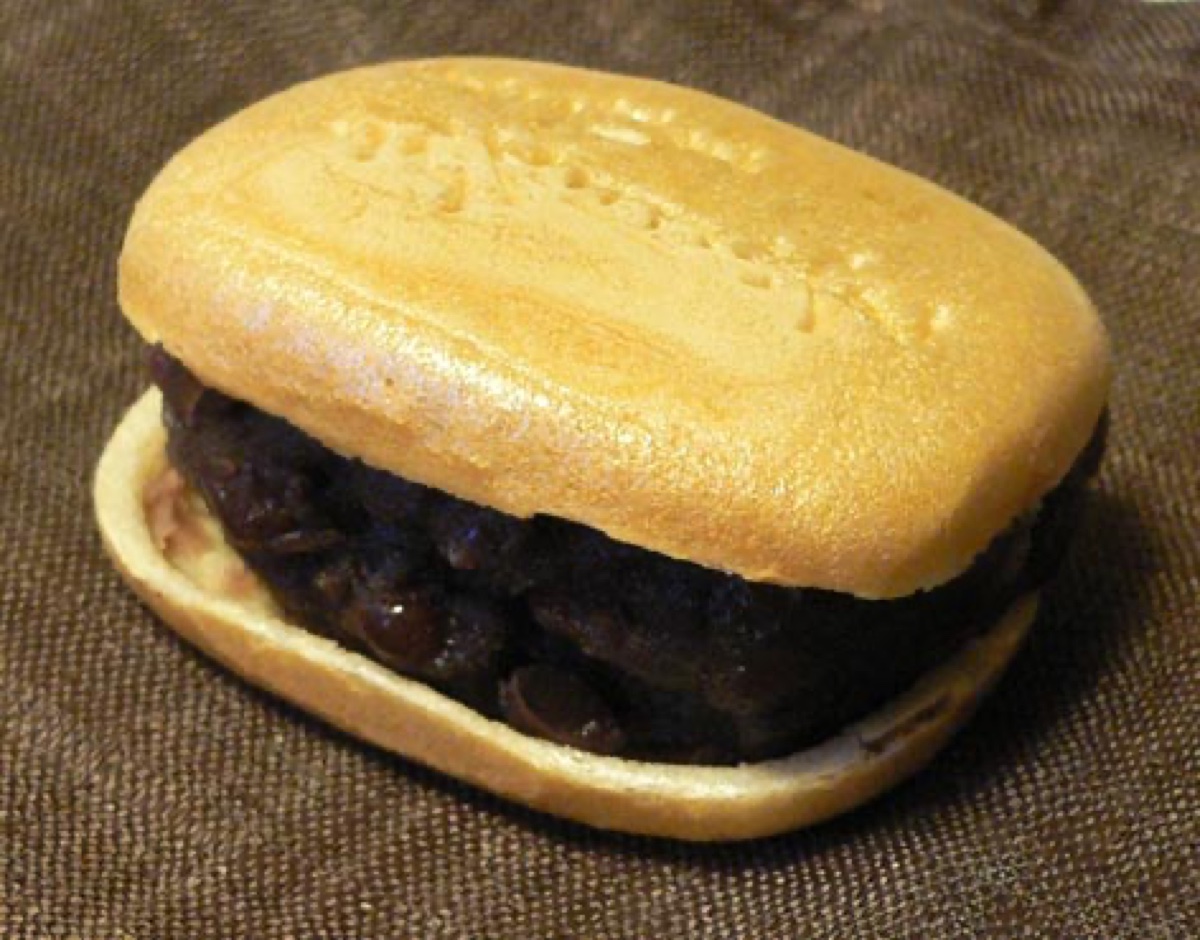
Monaka (最中)
Named after a Heian court poem celebrating the crisp harvest full moon, classic Monaka sandwiches lightly toasted paper-thin glutinous rice wafers around rich chunky sweet red bean paste and a pillowy gyūhi mochi jewel—delivering an unforgettable crackle-and-melt bite.
Ingredients
0 / 6 ingredients readyAllergens
Contains no common known allergens
Nutrition & Dietary Profile
Estimated per serving (~68 g)Instructions
0 / 6 steps completed- 1Crisping Rice Wafer Shells Warm the 16 monaka wafer shells in a 265°F (130°C) oven for 2–3 minutes—or in a dry skillet over low heat—to drive off humidity and awaken nutty toasted rice aroma; cool on a wire rack.
- 2Steaming Soft Gyūhi Center Whisk 0.3 cup shiratamako, 2 tbsp sugar, and 0.25 cup water in a heatproof bowl until smooth, steam 8 minutes (or microwave 1 minute, stir, and 30 seconds more) until shiny and translucent, then knead 30 seconds with a damp spatula.
- 3Shaping 8 Soft Mochi Squares Pat warm gyūhi into a small slab on a lightly starched plate, cool 5 minutes, slice into 8 neat 0.75-inch cubes, and brush off loose starch.
- 4Reducing Bean Paste Moisture Stir 1 cup tsubuan and a pinch of salt in a dry skillet over medium-low heat 2–3 minutes just to evaporate excess water (drier anko preserves crisp shells far longer); cool completely.
- 5Filling & Nestling Mochi Spoon half the cooled tsubuan evenly into 8 wafer halves, press a soft gyūhi square into each center, and top smoothly with remaining bean paste.
- 6Sealing Gently & Enjoying Crisp Place matching top wafers cleanly on top and press gently around the outer rims only (pressing the brittle dome cracks shells); serve immediately so crackling shells contrast silky bean paste.
Chef's Masterclass Guide: Gear, Cues & Storage
Required Equipment & Pan Size
- Wide heavy-bottomed pan or skillet, heatproof silicone spatula & properly sized
- Digital scale or candy thermometer for repeatable sugar stages
Doneness & Texture Checkpoints
- Thick paste pulls cleanly away from pan bottom and sides in a cohesive mass (~15 min)
- Cooled pinch tests non-sticky and pliable between clean fingertips
Pro Tips & Troubleshooting
- Cook steadily over gentle low heat scraping corners constantly to prevent scorching
- Respect cooling temperature checkpoints before adding dry sugars or shaping spheres
Serving & Storage Guide
- Set rolled or cut pieces 1 hour cleanly before plating all 8 confections
- Store in parchment-lined airtight tins in a cool dry spot for 5–7 days
More World Desserts to Explore
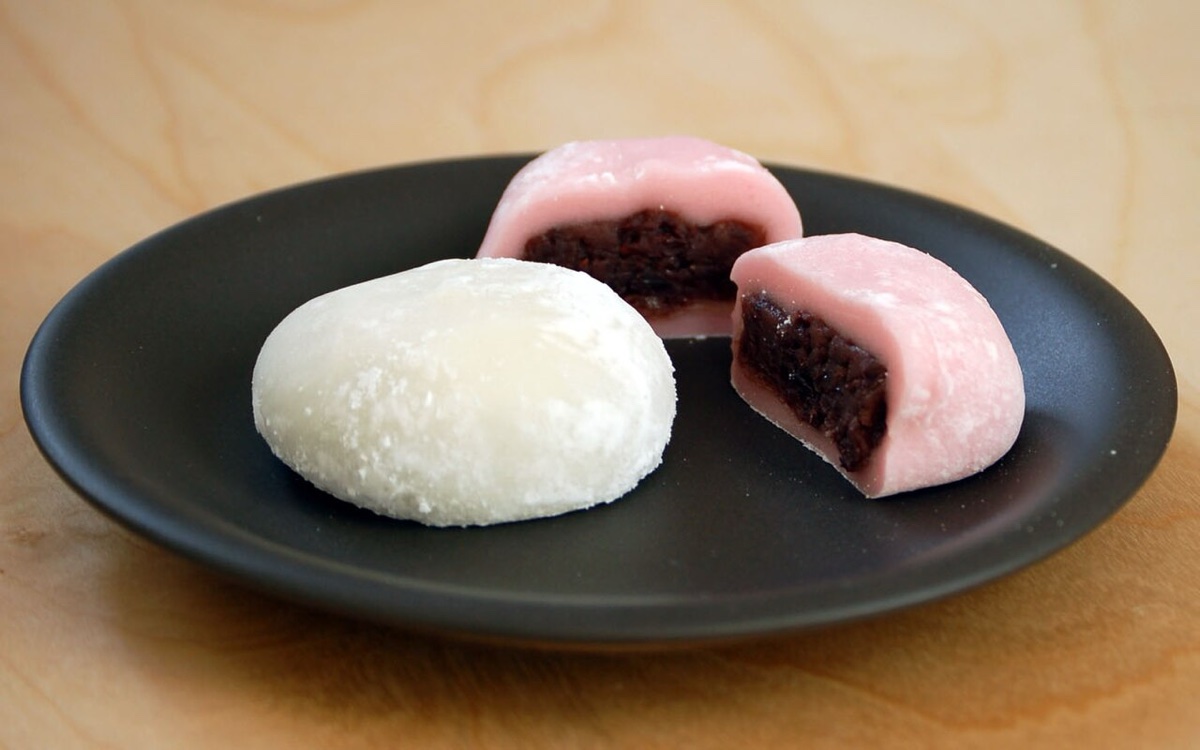
Ichigo Daifuku (いちご大福)
Popularized in Tokyo wagashi shops during the 1980s as a joyful spring confection, Ichigo Daifuku hides a juicy whole fresh strawberry inside silky sweet red or white bean paste wrapped in pillowy steamed sweet rice mochi (gyūhi).
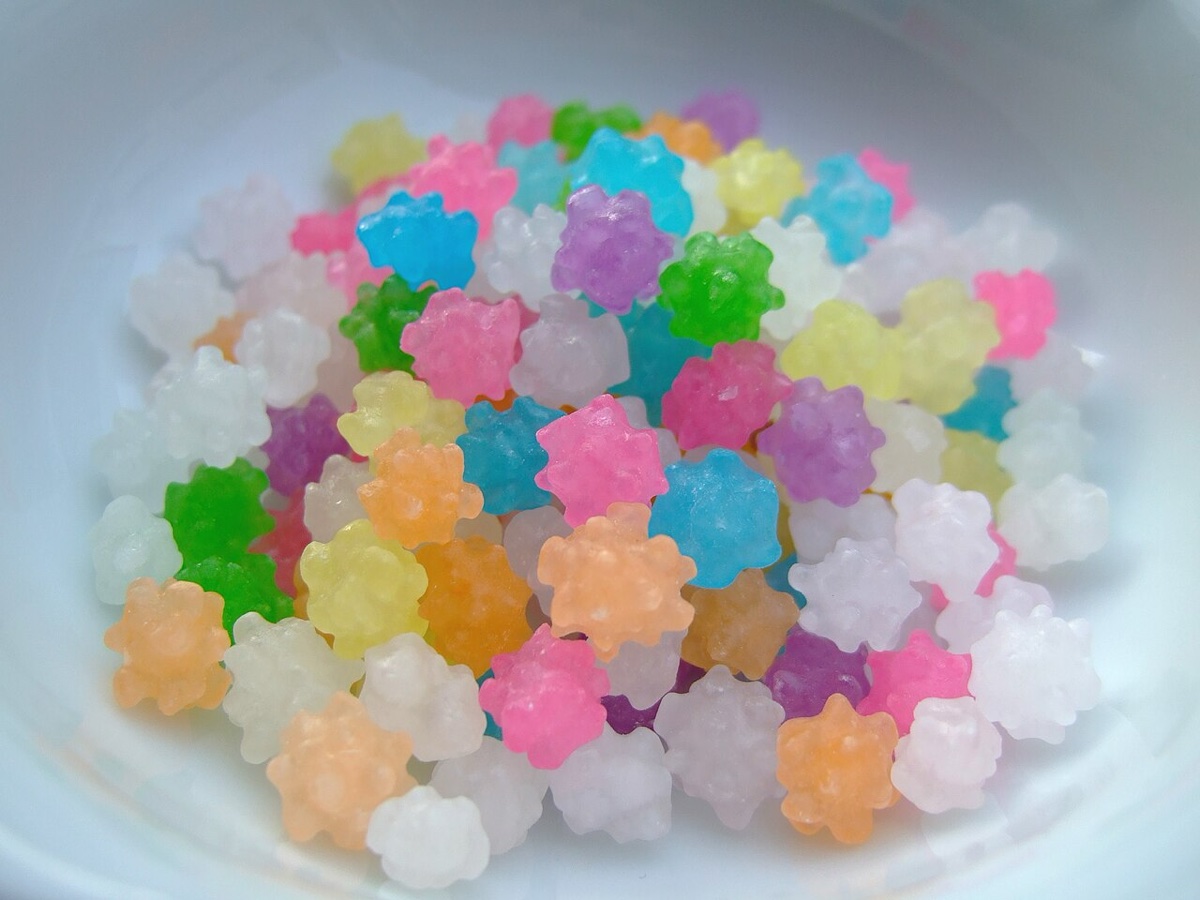
Konpeitō (金平糖)
Born from 16th-century Portuguese “confeito” sugar plums brought to Nagasaki, jewel-toned Japanese Konpeitō star candies form delicate crystalline spikes (tsuno) as supersaturated sugar syrup drizzles layer by layer over tumbling sugar seeds inside a warm rotating pan.
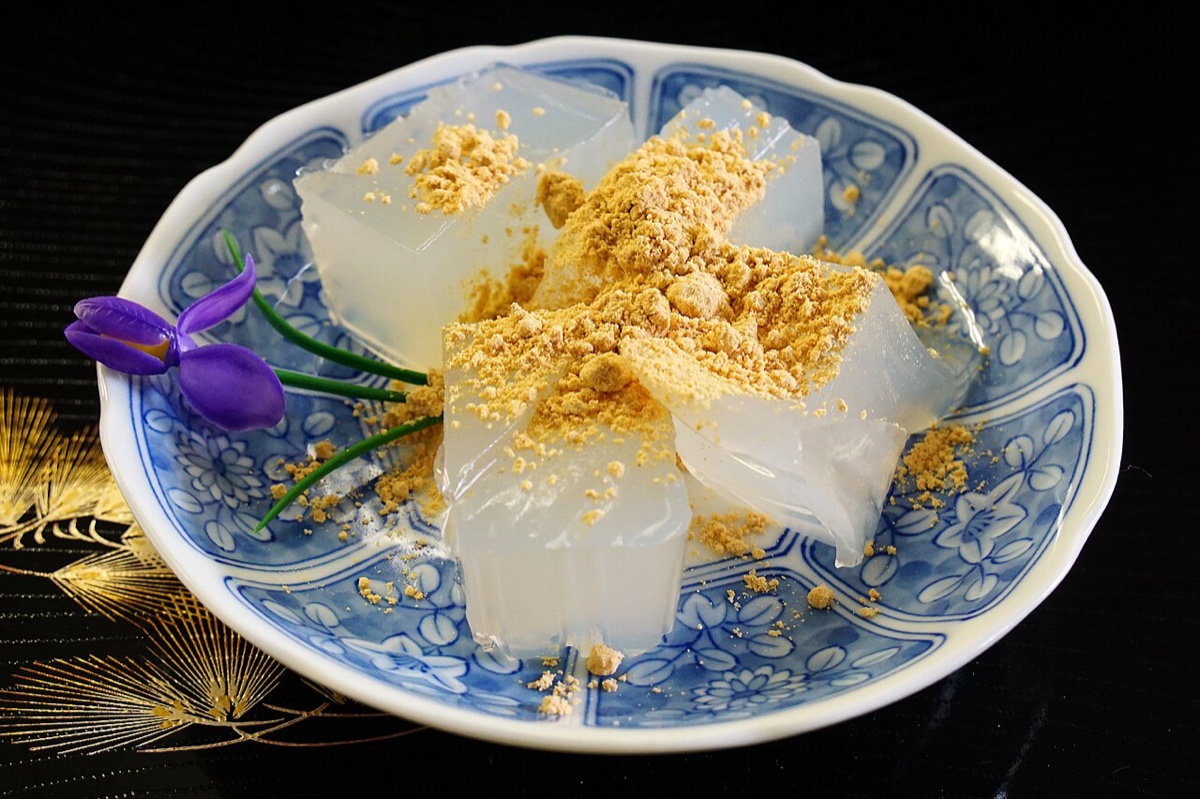
Kuzumochi (葛餅)
Crafted in the Kyoto and Yoshino wagashi tradition from pure mountain arrowroot kudzu starch (distinct from eastern Tokyo’s fermented wheat variety), chilled translucent Kuzumochi delivers a silky, bouncy wobble finished with toasted soybean flour (kinako) and dark kuromitsu syrup.