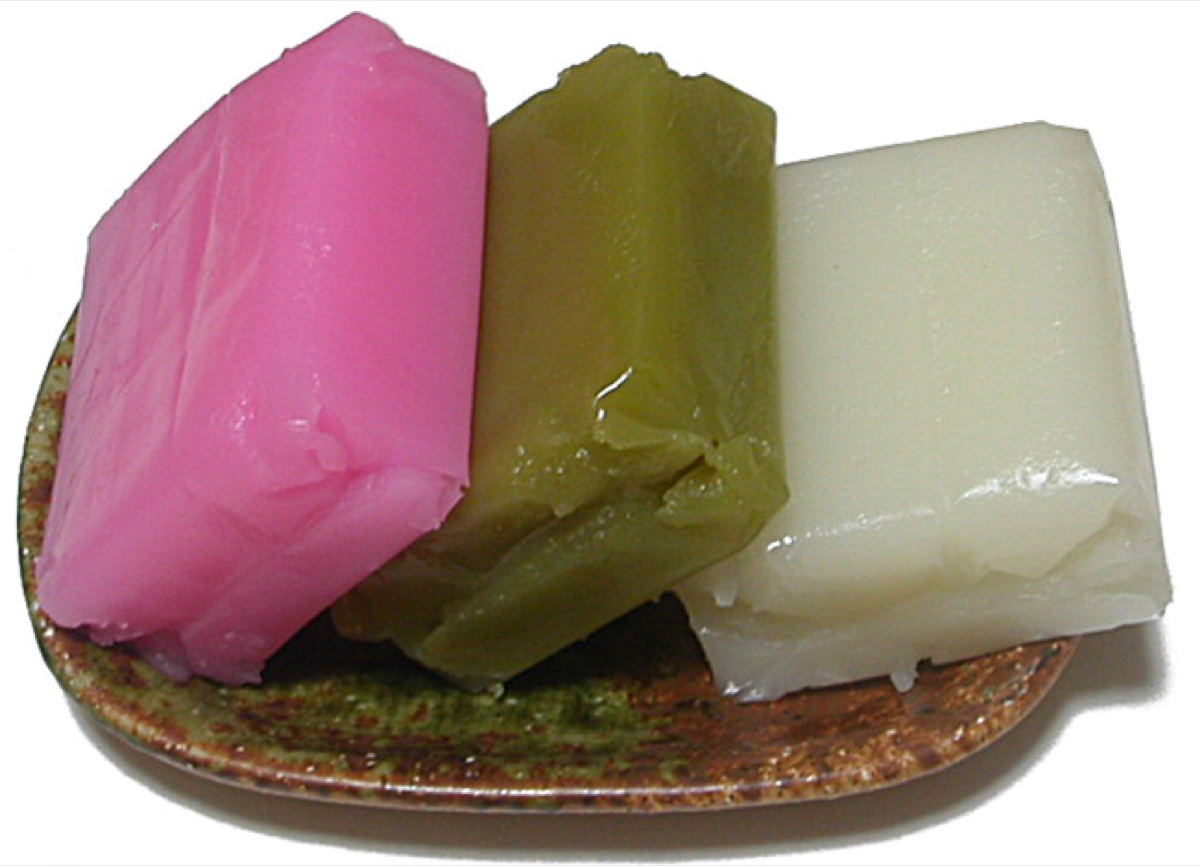
Uirō (ういろう)
Today the signature souvenir confection of Nagoya and Odawara, traditional steamed Japanese Uirō blends non-glutinous and glutinous rice flours with sugar and water into translucent, delightfully chewy matcha-tinted bars studded with sweet whole red azuki beans.
Ingredients
0 / 7 ingredients readyAllergens
Contains no common known allergens
Nutrition & Dietary Profile
Estimated per serving (~72 g)Instructions
0 / 6 steps completed- 1Lining Loaf Tin & Preheating Steamer Line an 18×8 cm (7×3-inch) rectangular loaf pan smoothly with parchment paper. Bring a steamer pot to a rolling boil and wrap the lid tightly in a clean kitchen towel so condensation never drips onto the surface.
- 2Whisking & Straining Dual-Flour Batter Combine 0.8 cup joshinko rice flour, 0.25 cup shiratamako (or tapioca starch), 0.5 cup sugar, and a pinch of salt; whisk in 1.2 cups cold water until lump-free, then pass through a fine sieve for crystal-smooth gloss.
- 3Incorporating Matcha Without Specks Rub 1 tbsp sifted matcha with 2 tbsp of the strained batter into a vibrant lump-free emerald paste first, then whisk smoothly back into the full batch.
- 4Adding Azuki Beans & Shielding Top Pour green batter cleanly into the lined pan, scatter 0.35 cup sweet whole azuki beans evenly across the surface, and tent loosely with foil before setting into the hot steamer.
- 5Steaming Until Translucent & Springy Steam steadily over medium-high heat for 30–35 minutes until the center turns glossy emerald-translucent, springs back when lightly pressed, and a skewer comes out clean (avoid peeking early so heat stays steady).
- 6Cooling Completely Room Temp Before Slicing Rest pan on a rack at room temperature for 2 hours to firm gently (refrigeration clouds and hardens rice starch); unmold and slice cleanly with a wet knife.
Chef's Masterclass Guide: Gear, Cues & Storage
Required Equipment & Pan Size
- Wide heavy-bottomed pan or skillet, heatproof silicone spatula & 18×8 cm
- Digital scale or candy thermometer for repeatable sugar stages
Doneness & Texture Checkpoints
- Thick paste pulls cleanly away from pan bottom and sides in a cohesive mass (~35 min)
- Cooled pinch tests non-sticky and pliable between clean fingertips
Pro Tips & Troubleshooting
- Cook steadily over gentle low heat scraping corners constantly to prevent scorching
- Respect cooling temperature checkpoints before adding dry sugars or shaping spheres
Serving & Storage Guide
- Set rolled or cut pieces 1 hour cleanly before plating all 8 confections
- Store in parchment-lined airtight tins in a cool dry spot for 5–7 days
More World Desserts to Explore
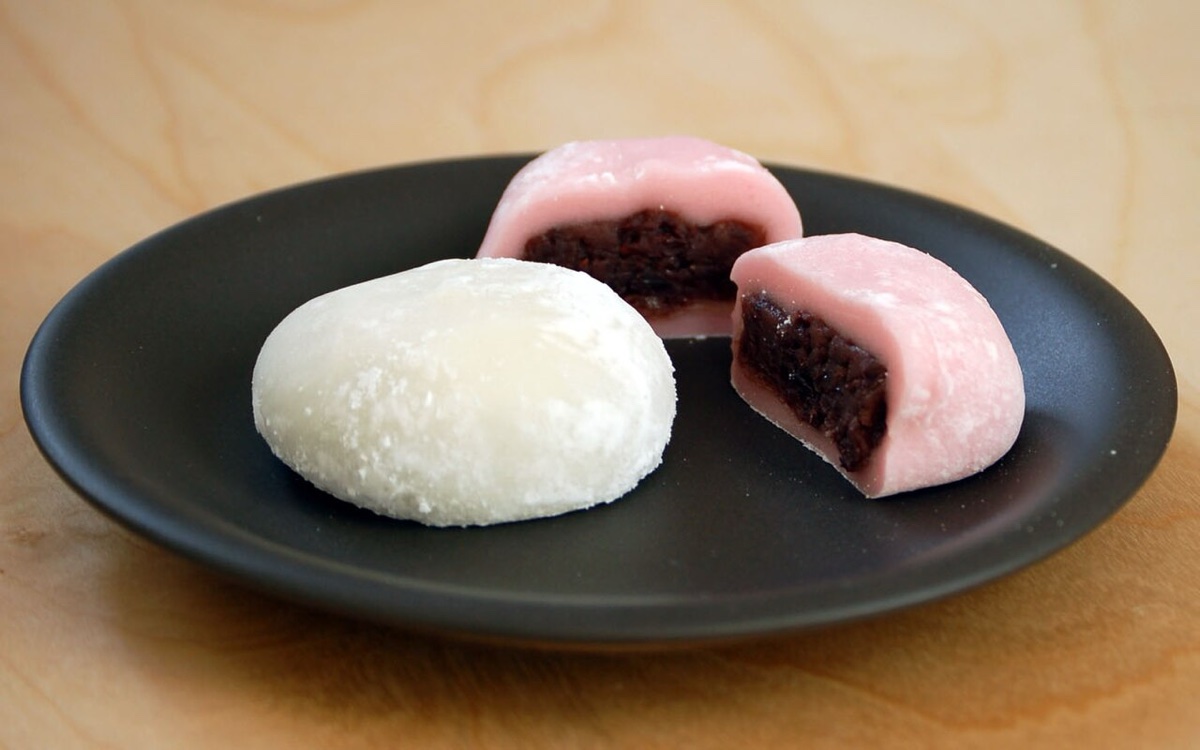
Ichigo Daifuku (いちご大福)
Popularized in Tokyo wagashi shops during the 1980s as a joyful spring confection, Ichigo Daifuku hides a juicy whole fresh strawberry inside silky sweet red or white bean paste wrapped in pillowy steamed sweet rice mochi (gyūhi).
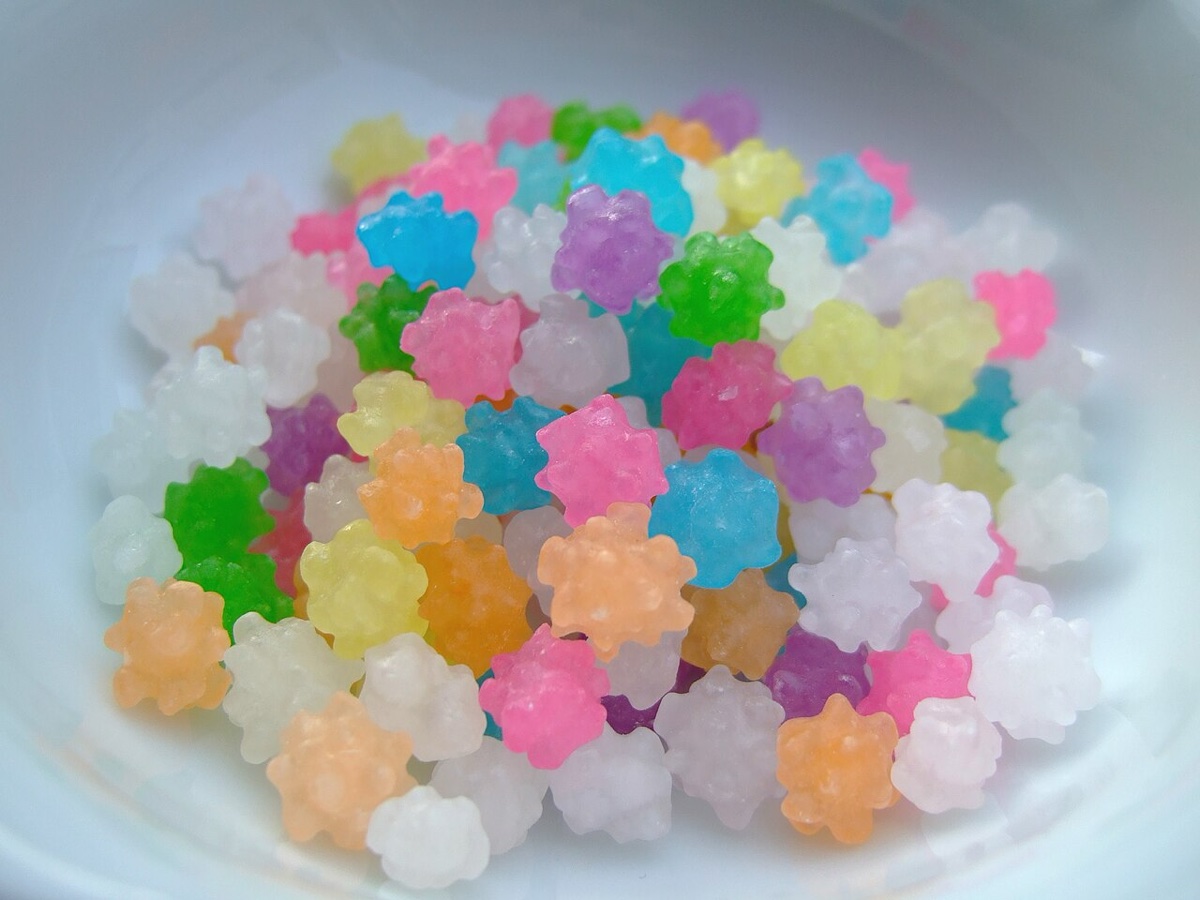
Konpeitō (金平糖)
Born from 16th-century Portuguese “confeito” sugar plums brought to Nagasaki, jewel-toned Japanese Konpeitō star candies form delicate crystalline spikes (tsuno) as supersaturated sugar syrup drizzles layer by layer over tumbling sugar seeds inside a warm rotating pan.
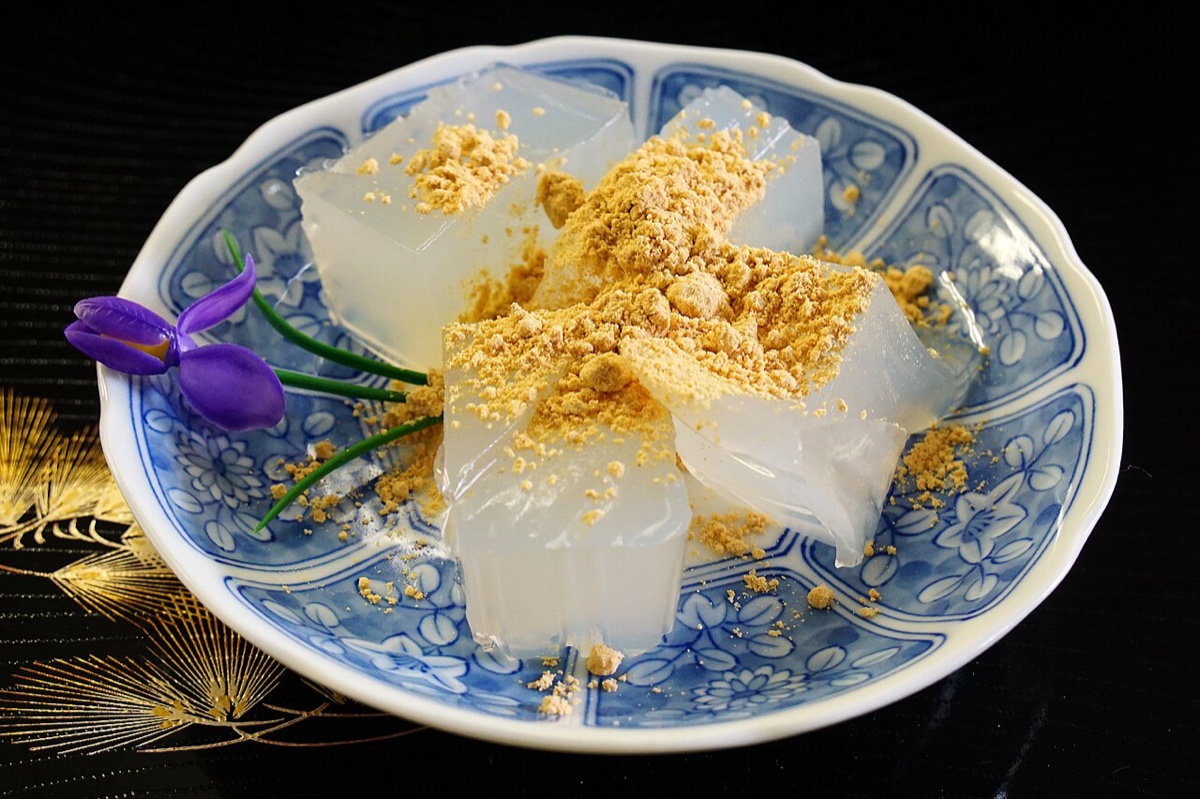
Kuzumochi (葛餅)
Crafted in the Kyoto and Yoshino wagashi tradition from pure mountain arrowroot kudzu starch (distinct from eastern Tokyo’s fermented wheat variety), chilled translucent Kuzumochi delivers a silky, bouncy wobble finished with toasted soybean flour (kinako) and dark kuromitsu syrup.