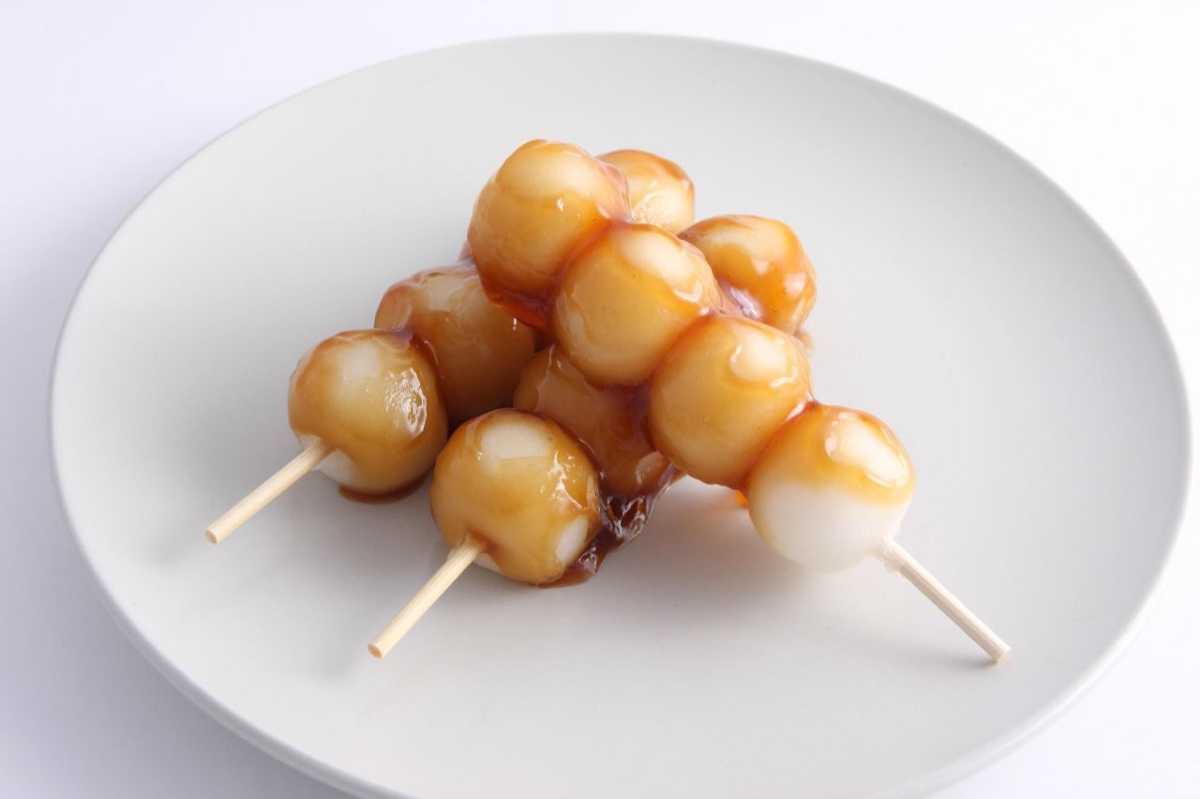
Mitarashi Dango
Linked to Kyoto’s Shimogamo Shrine and the bubbling Mitarashi spring, skewered Mitarashi Dango pairs lightly charred chewy rice dumplings grilled golden over open flame or pan with an addictively glossy sweet-and-savory soy glaze.
Ingredients
0 / 5 ingredients readyAllergens
Nutrition & Dietary Profile
Estimated per serving (~78 g)Instructions
0 / 6 steps completed- 1Kneading Dual-Rice Dough Mix 1 cup glutinous shiratamako with 0.65 cup standard rice flour, gradually pouring in 0.7 cup hot water (~140°F / 60°C) until smooth, bouncy, earlobe-soft clay forms.
- 2Rolling 24 Smooth Dumplings Divide and roll evenly into 24 smooth balls.
- 3Boiling Until Floating Plus Ice Bath Drop balls into boiling water; once they rise to the surface, simmer 2 minutes more, then plunge into an ice-water bath to chill firm and glossy without sticking.
- 4Skewering & Scorching Over Griddle Pat damp-dry and thread 4 balls onto each bamboo skewer. Sear in a dry blazing-hot skillet or under a broiler 1–2 minutes per side until blistered char spots smell nutty.
- 5Simmering Glossy Soy-Sugar Glaze Whisk 0.42 cup cold water, 0.4 cup sugar, 2 tbsp soy sauce, 1 tbsp mirin, and 1.5 tbsp starch smoothly in a small pot; heat over low stirring 3 minutes until clear, thick, and glossy.
- 6Coating Warm Skewers Spoon warm shiny glaze generously all over the toasted rice dumplings and serve fresh and warm.
Chef's Masterclass Guide: Gear, Cues & Storage
Required Equipment & Pan Size
- Wide heavy-bottomed pan or skillet, heatproof silicone spatula & properly sized
- Digital scale or candy thermometer for repeatable sugar stages
Doneness & Texture Checkpoints
- Thick paste pulls cleanly away from pan bottom and sides in a cohesive mass (~15 min)
- Cooled pinch tests non-sticky and pliable between clean fingertips
Pro Tips & Troubleshooting
- Cook steadily over gentle low heat scraping corners constantly to prevent scorching
- Respect cooling temperature checkpoints before adding dry sugars or shaping spheres
Serving & Storage Guide
- Set rolled or cut pieces 1 hour cleanly before plating all 6 confections
- Store in parchment-lined airtight tins in a cool dry spot for 5–7 days
More World Desserts to Explore
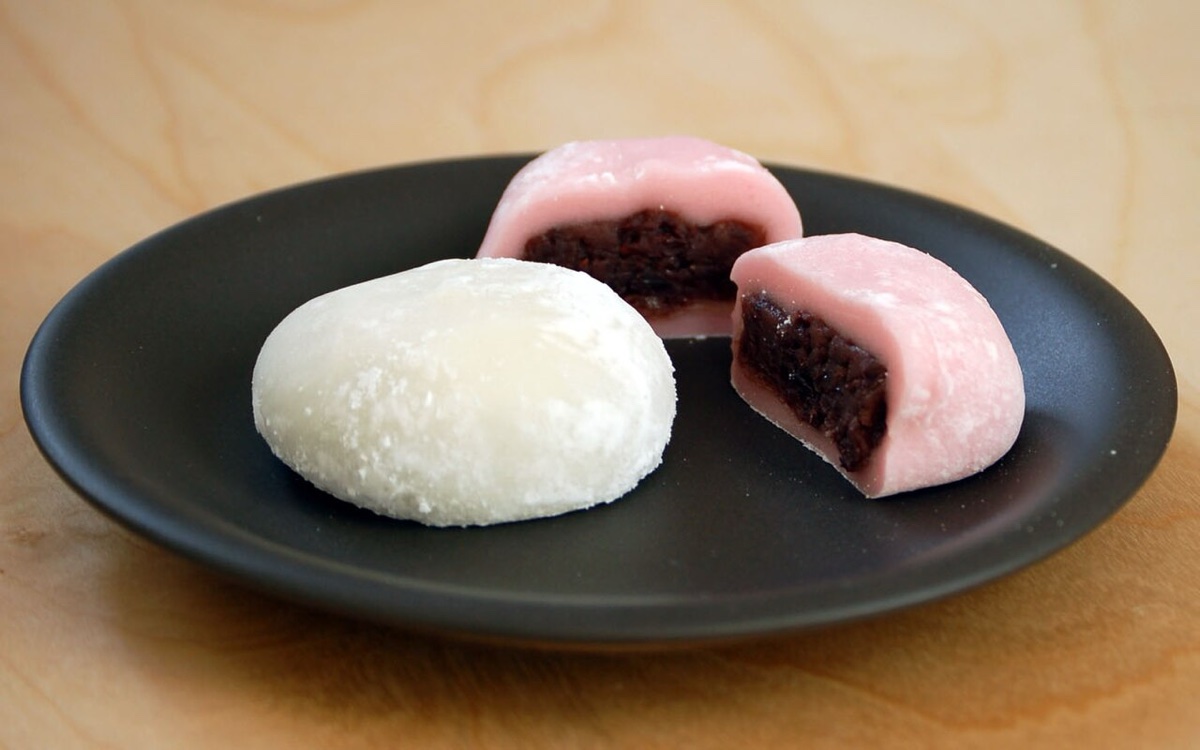
Ichigo Daifuku (いちご大福)
Popularized in Tokyo wagashi shops during the 1980s as a joyful spring confection, Ichigo Daifuku hides a juicy whole fresh strawberry inside silky sweet red or white bean paste wrapped in pillowy steamed sweet rice mochi (gyūhi).
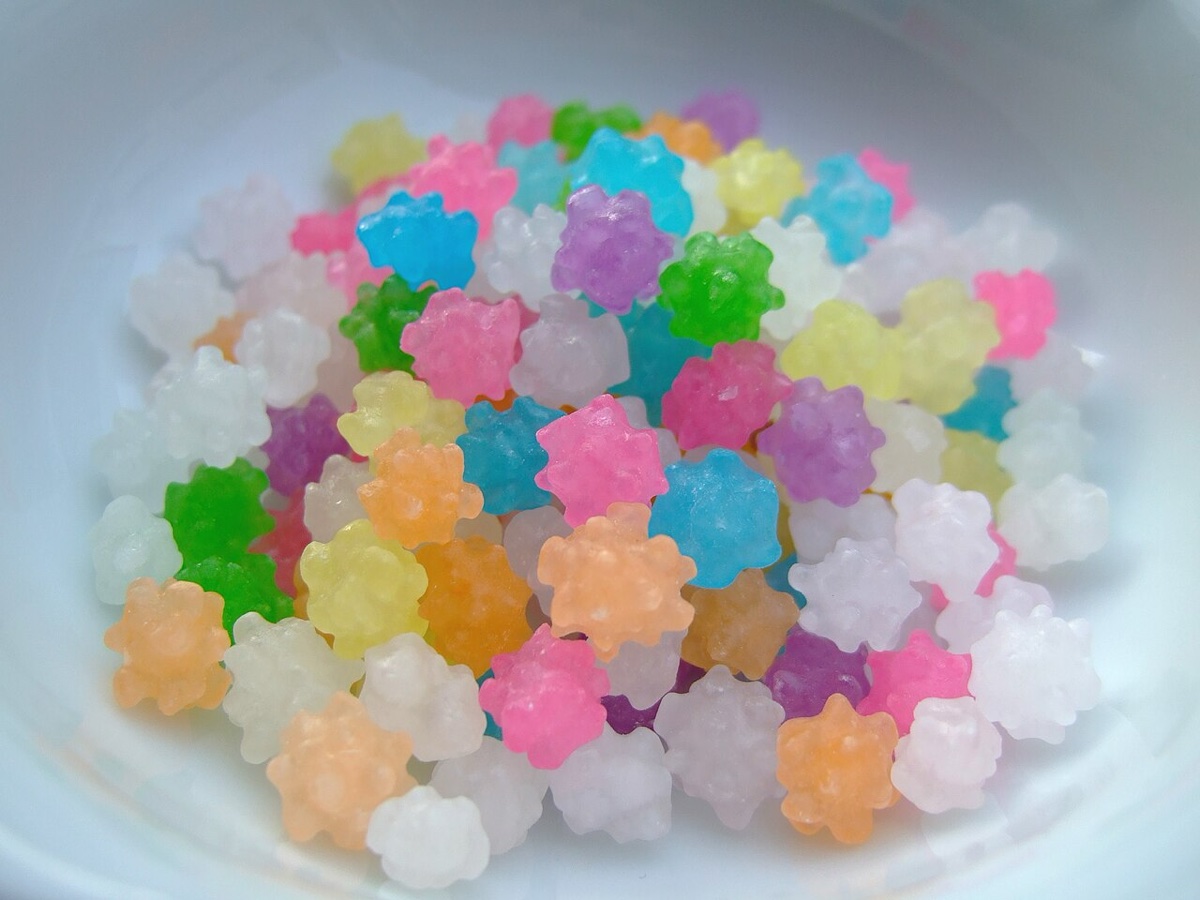
Konpeitō (金平糖)
Born from 16th-century Portuguese “confeito” sugar plums brought to Nagasaki, jewel-toned Japanese Konpeitō star candies form delicate crystalline spikes (tsuno) as supersaturated sugar syrup drizzles layer by layer over tumbling sugar seeds inside a warm rotating pan.
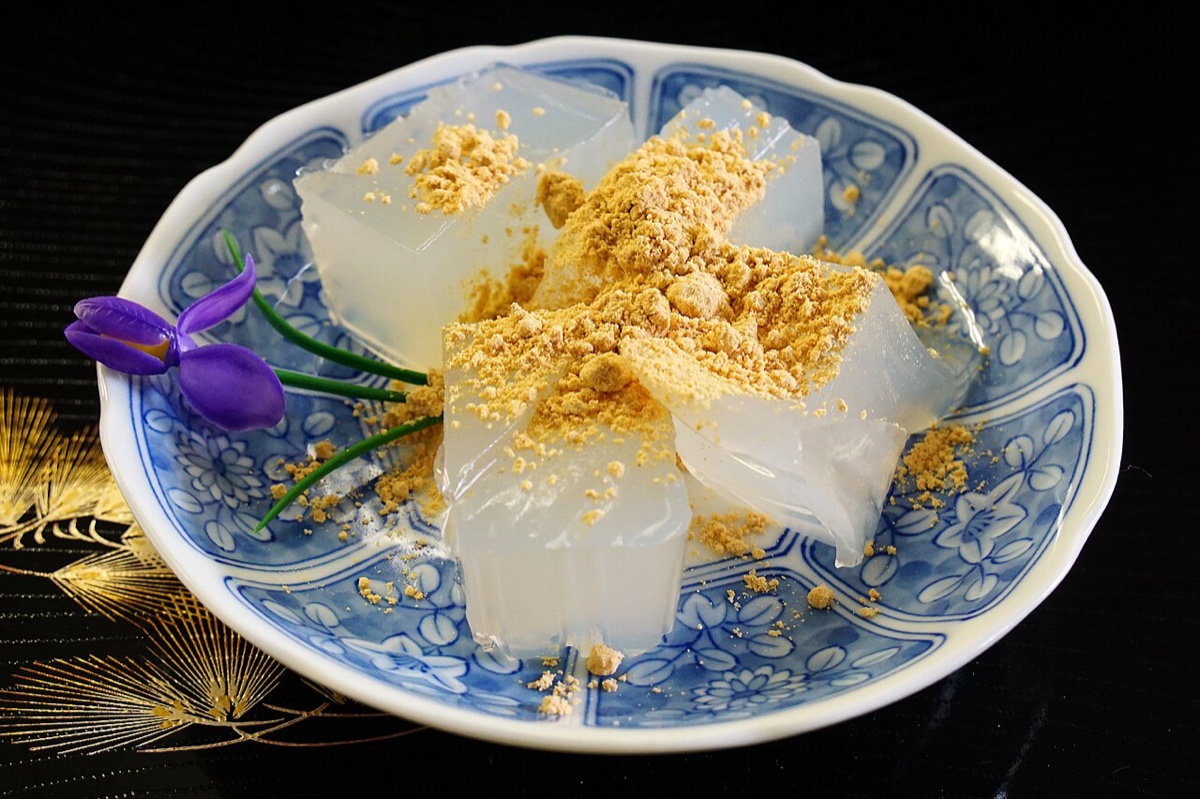
Kuzumochi (葛餅)
Crafted in the Kyoto and Yoshino wagashi tradition from pure mountain arrowroot kudzu starch (distinct from eastern Tokyo’s fermented wheat variety), chilled translucent Kuzumochi delivers a silky, bouncy wobble finished with toasted soybean flour (kinako) and dark kuromitsu syrup.