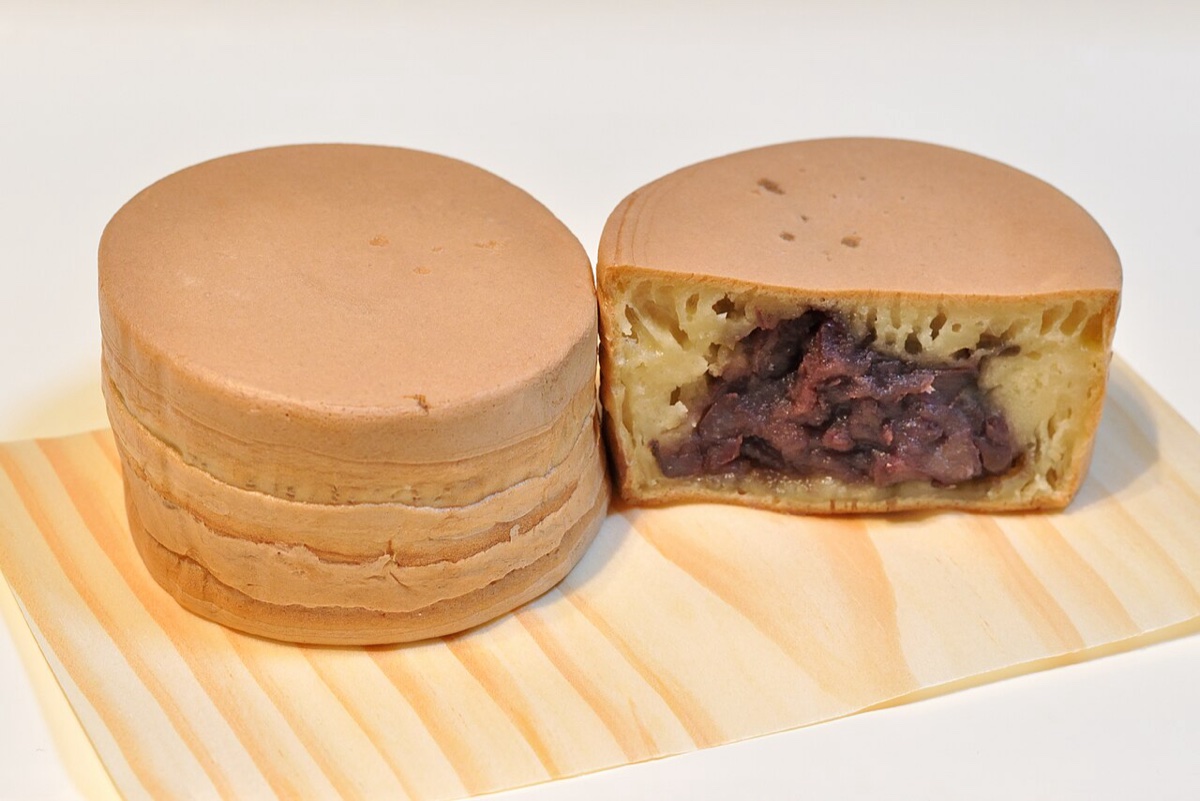
Imagawayaki (今川焼)
Named after Tokyo’s Imagawabashi bridge where vendors sold it in the late 18th century (and also known regionally as Kaitenyaki or Ōbanyaki), Imagawayaki encases warm chunky sweet azuki bean paste inside thick golden honey-scented griddled cake drums.
Ingredients
0 / 7 ingredients readyAllergens
Nutrition & Dietary Profile
Estimated per serving (~95 g)Instructions
0 / 6 steps completed- 1Whisking & Resting Honey Batter Whisk 2 eggs, 3.5 tbsp sugar, and 1 tbsp honey for 1 minute until pale and dissolved, then stir in 0.7 cup milk. Fold in sifted 1.25 cups cake flour and 1.5 tsp baking powder just until smooth, cover, and rest 20 minutes so the batter relaxes.
- 2Preheating Griddle Molds Heat an Imagawayaki pan or 3-inch (8 cm) oiled metal ring molds set on a nonstick skillet to medium-low (330°F / 165°C), wiping oil very thin with paper towel for uniform satin browning.
- 3Pouring Bases & Topping with Bean Paste Fill 4 cavities halfway with batter. Cook 1.5–2 minutes until edges set and tiny bubbles dot the surface, then mound 2 tbsp chunky tsubuan neatly into the center of each.
- 4Capping & Joining Drums Fill 4 empty cavities halfway with batter and cook 1 minute just until edges hold shape while top stays wet; quickly lift each half-set cap with an offset spatula and invert cleanly onto a bean-filled base (or pour batter directly over filling in deeper ring molds).
- 5Browning Evenly Until Sealed Cook 4–5 minutes more, flipping once or twice as edges fuse smoothly into thick golden-chestnut cylinders (excess heat burns honey before centers bake through).
- 6Venting on Rack & Serving Warm Transfer hot drums onto a wire rack for 2 minutes so crisp rims never steam soggy, then serve warm when red bean centers are molten.
Chef's Masterclass Guide: Gear, Cues & Storage
Required Equipment & Pan Size
- Digital kitchen scale, rolling pin or pastry brush, parchment sheets & 8 cm
- Static oven preheated to 330°F or heavy frying thermometer
Doneness & Texture Checkpoints
- Both top ridges and underside bake deep golden after ~18 min
- Pastry shells sound hollow and crisp when tapped lightly
Pro Tips & Troubleshooting
- Keep buttered or layered dough chilled/covered between steps to preserve crisp lift
- Transfer freshly baked pastries onto a wire rack immediately so steam cannot soften bases
Serving & Storage Guide
- Serve crisp the same day across 8 portions alongside warm coffee or tea
- Keep airtight at room temp 2–3 days and refresh 4 min in a 350°F (175°C) oven
More World Desserts to Explore
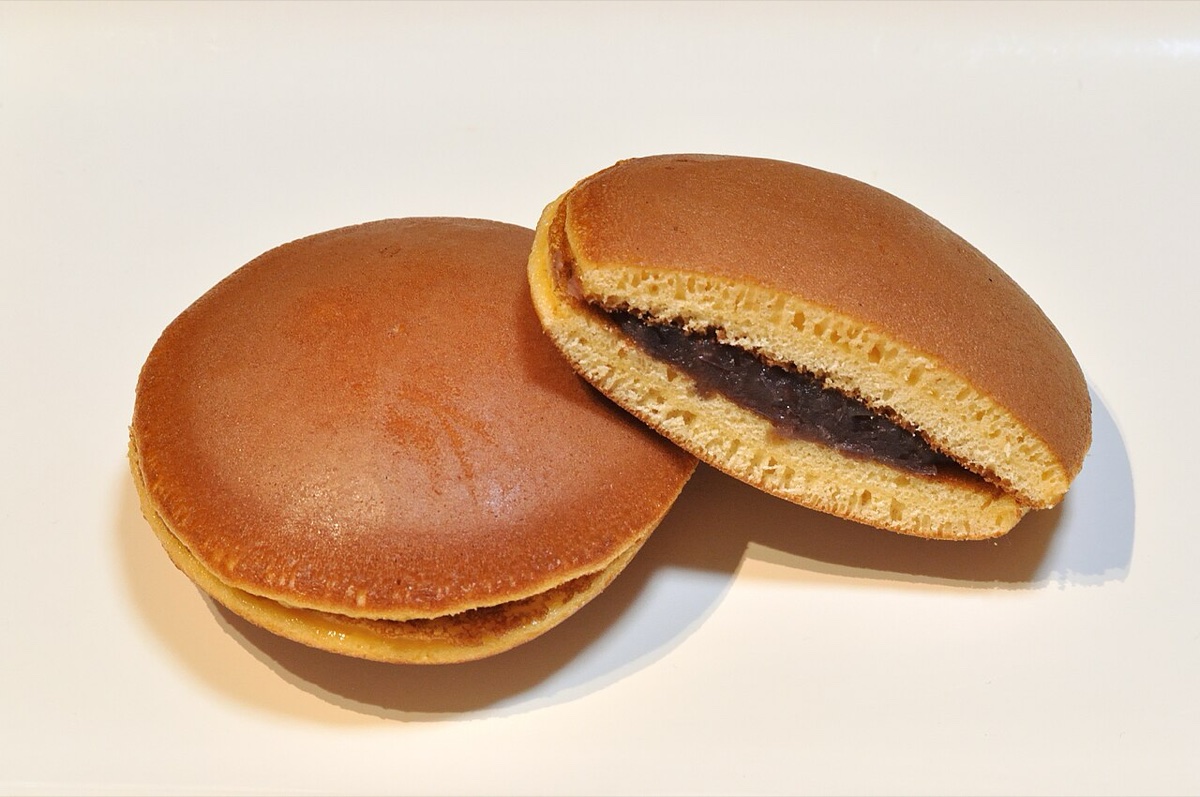
Dorayaki
Popularized in 1914 at Tokyo’s historic Usagiya sweetshop, Dorayaki sandwiches glossy slow-simmered tsubuan sweet red azuki bean paste between two impossibly uniform, honey-scented sponge pancakes seared brown on a lightly oiled griddle.
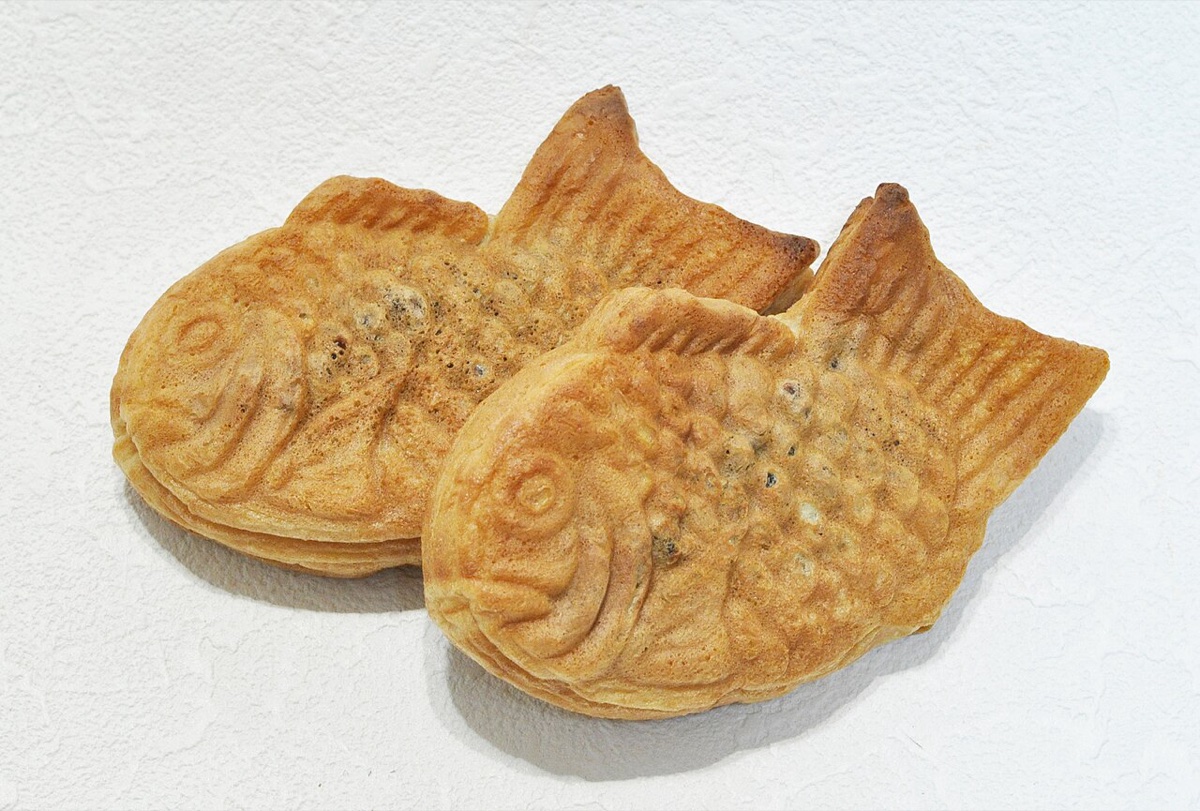
Taiyaki
Originated in Tokyo in 1909 at Naniwaya Sohonke and molded in the auspicious shape of sea bream (“tai”), crisp hot Japanese Taiyaki encases warm sweet red azuki bean paste—or thick vanilla custard—inside a waffle-crisp golden shell eaten fresh off the iron.
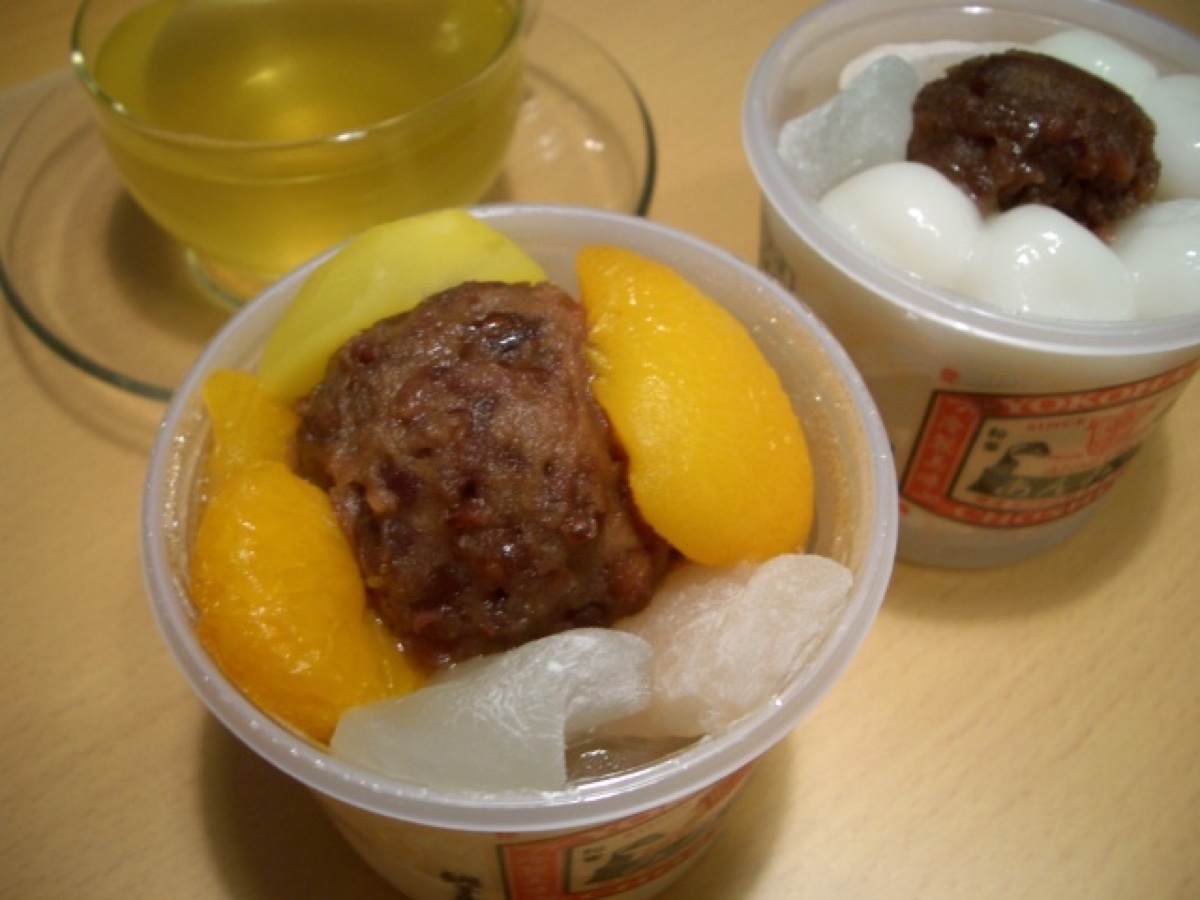
Anmitsu
Born in 1930 at Tokyo’s Ginza Wakamatsu parlor, classic chilled Japanese Anmitsu layers crisp refreshing agar-agar kanten jelly cubes, pillowy shiratama mochi balls, sweet red azuki bean paste, and juicy seasonal fruit finished with deep dark kuromitsu brown sugar syrup.