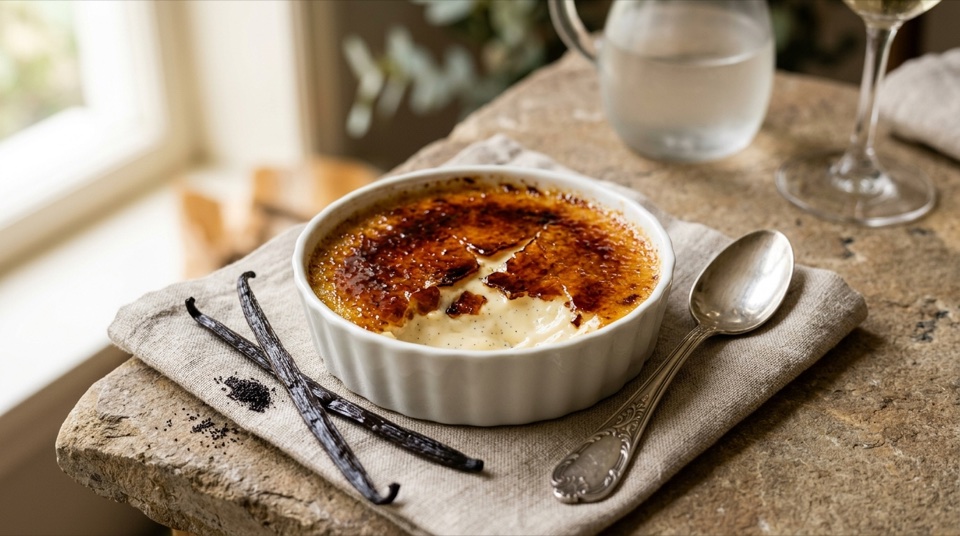
Crème brûlée
Meaning "burnt cream" in French, one of the earliest recorded recipes for crème brûlée appears in François Massialot’s 1691 cookbook, though it shares culinary roots with similar custards in England and Spain (crema catalana). Its kitchen hallmark is the sharp contrast between the shatteringly crisp amber sugar crust and the cold, velvety vanilla custard underneath.
Historical details about the origin of this dessert may vary across sources.
Ingredients
0 / 6 ingredients readyAllergens
Nutrition & Dietary Profile
Estimated per serving (~179 g)Instructions
0 / 8 steps completed- 1Oven & Water-Bath Dish Prep Preheat a static oven (no fan) to 300°F (150°C) and bring a kettle of water to a boil. Arrange 4 shallow wide porcelain ramekins (about 4.5 inches / 11–12 cm wide and 1.2 inches deep) on a folded kitchen towel inside a deep roasting pan so dishes cannot slide.
- 2Steeping the Vanilla Cream Combine 2 cups heavy cream, scraped vanilla seeds, spent pod, and pinch of salt in a small pot. Warm over medium-low heat until tiny bubbles ring the edge and light steam rises (about 180°F / 82°C, never boiling), then cover and steep 20 minutes for maximum aroma.
- 3Whisking Yolks Without Foam In a wide bowl, gently whisk 5 egg yolks and superfine sugar for 2 minutes only until sugar dissolves and color lightens—do not whip aggressively or baking will form tiny porous craters on top.
- 4Tempering & Fine Straining Remove vanilla pod (rinse and dry it to scent jar sugar). Ladle warm cream slowly into yolks—first drop-by-drop, then in a thin steady stream—while whisking continuously so yolks never scramble. Strain through a fine-mesh sieve into a spouted pitcher and skim any surface bubbles.
- 5Baking in a Boiling Water Bath Pour custard evenly into ramekins (~0.6 cup / 140 ml each). Slide roasting pan onto middle oven rack before carefully pouring boiling water halfway up ramekin sides without splashing into custard. Bake 35–42 minutes.
- 6Jiggle Check & Deep Chilling Remove pan with tongs when edges are firm and only the inner 1.5 inches wobble together smoothly (internal temp ~172°F / 78°C). Lift ramekins to a wire rack for 30 minutes, cover individually, and refrigerate at least 4–6 hours until ice-cold.
- 7Caramelizing the Sugar Crust (Torch or Broiler) Blot any chilled surface condensation dry with paper towel right before serving. Sprinkle ~1.5–2 tsp sugar per ramekin, tilt to coat edge-to-edge in a thin even veil, and shake off excess. Sweep a kitchen torch flame 2–3 inches away until deep amber glass forms (or broil 2 inches under a 480°F broiler over an ice-water bath for 2–4 minutes, then chill 10 minutes).
- 8Hardening & Immediate Serving Let caramelized ramekins stand 2–3 minutes so molten amber hardens into a shatteringly crisp sheet over cold custard; tap with the back of a spoon and serve within 1 hour.
Chef's Masterclass Guide: Gear, Cues & Storage
Required Equipment & Pan Size
- Four wide shallow porcelain ramekins (4.5 in wide, ~1.2 in deep)
- Deep roasting pan lined with folded tea towel so dishes stay steady
- Kitchen butane torch (or 480°F oven broiler over an ice-water tray)
Doneness & Texture Checkpoints
- Steeped cream only steams and forms tiny rim bubbles (~180°F / 82°C)—never boil.
- Baked custards jiggle softly as one solid wave across the inner 1.5 inches (~172°F / 78°C).
Pro Tips & Troubleshooting
- Blot any surface moisture dry with paper towel right before sprinkling caramel sugar.
- Deep narrow custard cups cook unevenly (scrambled rim, liquid center); choose shallow ones.
- Strain and skim surface foam so tops bake glass-smooth.
Serving & Storage Guide
- Baked un-torched custards keep covered in fridge up to 3 days ahead.
- Once torched, serve within 1 hour before chilled custard softens the crisp sugar sheet.
More World Desserts to Explore
Far Breton aux Pruneaux
Rooted in 19th-century Brittany’s rural baked wheat puddings (“farz fourn”), Far Breton aux Pruneaux suspends black-tea and rum-plumped Agen prunes inside a dense, silky vanilla custard batter baked in a salted-butter-slicked dish until blistered and golden.
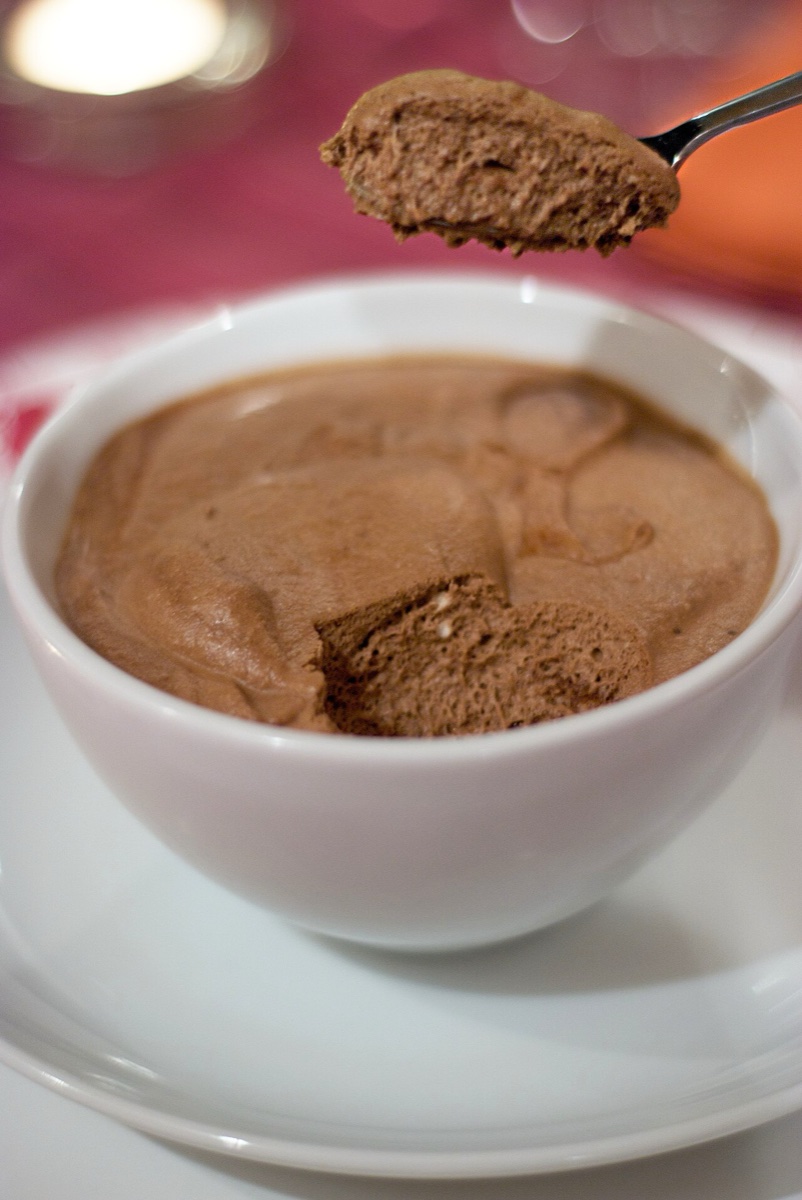
Mousse au Chocolat
Treasured in French home and bistro kitchens since the late 18th century, traditional Mousse au Chocolat relies on whipped egg whites rather than heavy cream—suspending bittersweet 70% chocolate, butter, and egg yolks into an intensely dark yet feather-light cloud of micro-bubbles.
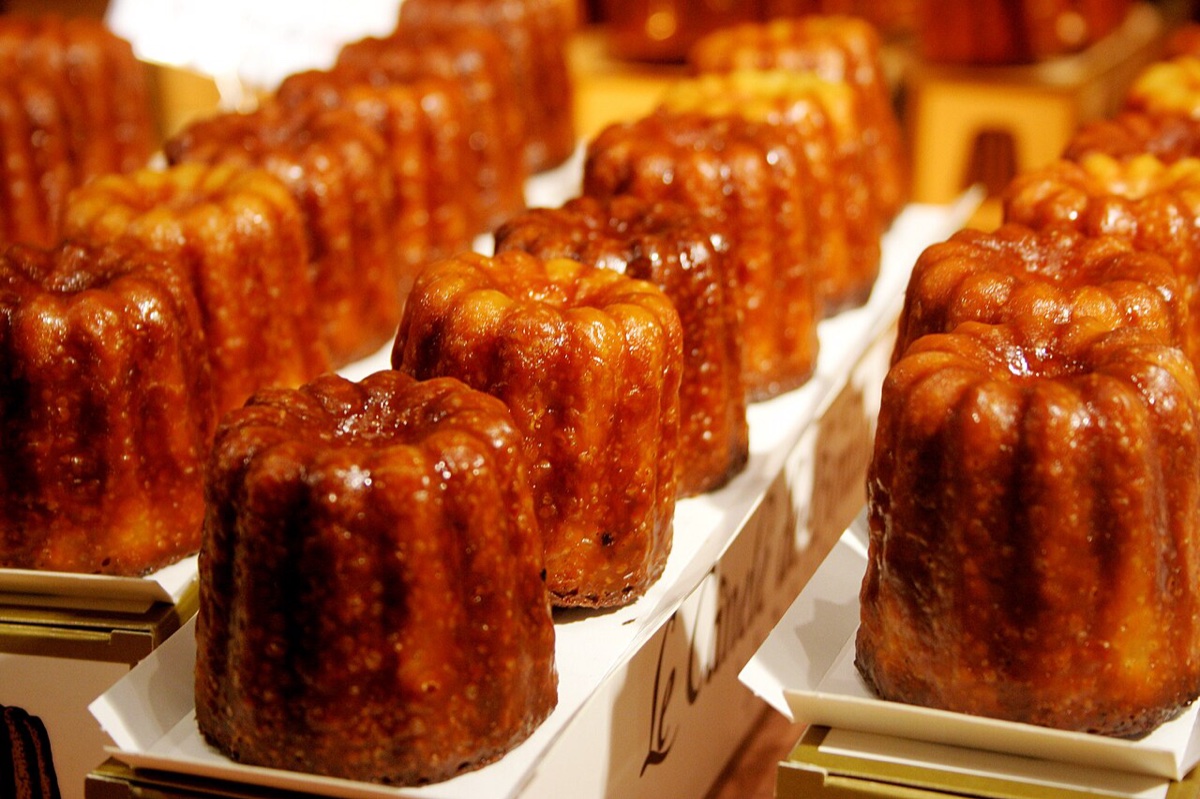
Canelés de Bordeaux
Born in 18th-century Bordeaux convents to use up egg yolks left over from fining red wine with egg whites, Canelés de Bordeaux bake in beeswax-coated fluted copper molds—emerging with a glassy dark-amber shell and a custardy rum-vanilla interior.